Understanding how to make a collage goes far beyond combining images. It means finding a powerful way to tell a story, express creativity, and design professional-quality visuals for personal or business projects. Whether it is a keepsake for cherished memories or an abstract visual masterpiece, this blend of creativity, design, and technology can produce striking results.
Creative collages are highly versatile. They can be shared digitally, printed as wall art, or turned into personalized gifts. This article walks you through the collage-making process step by step. Whether you are a beginner or someone looking to elevate their creative skills, embrace the power of photo editing to unleash your artistic potential.
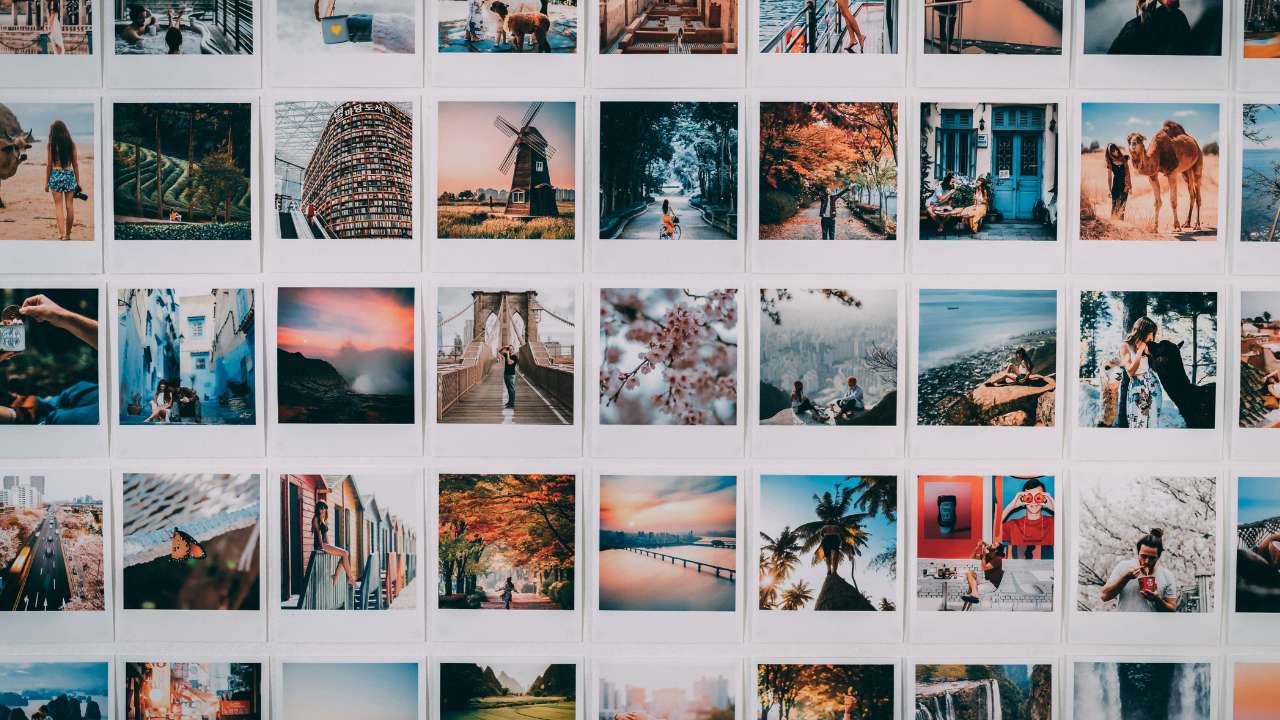
1. Gather Your Images and Define Your Vision
Before you create a collage, define the story or theme you want to convey with your creation. Are you looking to create a nostalgic photo collection, an abstract combination, or a sleek, modern design? A clear vision helps you select the right images and plan your layout.
Ensure your images complement each other. You can use personal photos, stock images, illustrations, or scanned textures like paper and fabric. Organize your pictures properly, categorize and tag them. Put your files into folders and name them consistently to ensure easy navigation during post-processing.
2. Choose the Tools
For straightforward and user-friendly options, dedicated collage makers like Canva or BeFunky allow you to arrange images with drag-and-drop ease. These programs include pre-designed templates to save you time and effort. However, if you want more control over elements like layers, textures, and blending effects, consider AI photo editors like Luminar Neo. They provide greater flexibility for experiments with designs and styles. While selecting your software, consider the following features:
- Layer management.
- Customizable presets and templates.
- Filters and effects.
- Export options supporting various file formats for printing and digital sharing.
3. Design the Base Layout
Select the canvas size for your art collage. Many photo editors offer preset sizes for social media posts, prints, or posters. You can also customize the dimensions to suit your needs. Begin arranging your images on the canvas. Experiment with different placements to see what works best for your theme. Use grids or frames for a structured look or a freeform layout for a more dynamic, organic design.
Distribute visual weight evenly across the collage. Ensure the composition is balanced and uncluttered. Once satisfied with the basic arrangement, lock the elements in place or group them in layers. It will let you refine and add details in the next steps without accidentally ruining the layout.
4. Enhance and Blend
Fine-tune every picture. Crop your photos and use an object remover from photos to eliminate unwanted elements. Adjust brightness, contrast, and saturation to ensure visual harmony across your photos. If one image is overly bright compared to the others, slightly reduce its exposure. Apply color correction tools to unify the tone.
Blending techniques can add depth and make your collage look like a single piece rather than a set of separate photos. Lower certain layers’ transparency with an opacity tool for a multidimensional effect. Use masking tools to blend edges or remove unnecessary portions of an image for a smooth transition. Add filters and textures for a unique aesthetic. Incorporate minor details like shadows or highlights to enhance depth and make your pictures look more realistic. Ensure the overall composition stays true to your vision, adding artistic flair without overwhelming the design.
5. Creative Elements
Creative elements reflect your style and make the composition stand out. Add meaningful quotes, dates, or labels. Ensure the font aligns with your theme. Bold and modern fonts suit contemporary designs, while vintage aesthetics can be emphasized with elegant scripts.
Use geometric shapes or hand-drawn elements to add structure or whimsy. For example, overlapping circles can frame key images, while subtle patterns create a textured background. Small doodles or icons like stars or arrows can attract attention to specific areas and enhance the visual narrative. Experiment with layering these elements over or behind your images to create depth. You might place text behind a semi-transparent photo or overlay a subtle pattern across the entire canvas.
Ensure the composition remains cohesive and additional visual elements complement it without overpowering and distracting. For instance, a playful, creative collage for a family album might include colorful accents and fun stickers, while an abstract art collage could use muted tones and minimalist shapes.
6. Refining
Zoom in each section of your work to check for imperfections. Look for uneven edges, misaligned layers, or any elements that might need slight adjustments. If you’ve used blending techniques, ensure the transitions between images are seamless and natural.
Use the eraser or masking tools to smooth out rough or jagged edges around your images. Use grid lines or snapping features in your software to ensure the elements are properly aligned. Revisit the overall color palette and readjust it for a unified look.
Once satisfied with the details, save your collage in high resolution to ensure it looks great, whether viewed digitally or in print. Most editors allow exporting in formats like PNG or JPEG, with options for adjusting file quality.
Conclusion
With the right tools, thoughtful planning, and creative touches, your collage can transform into a work of art that reflects your personality and vision. Pick up your favorite collage maker or photo editor, dive into your collection of photos, and start crafting!