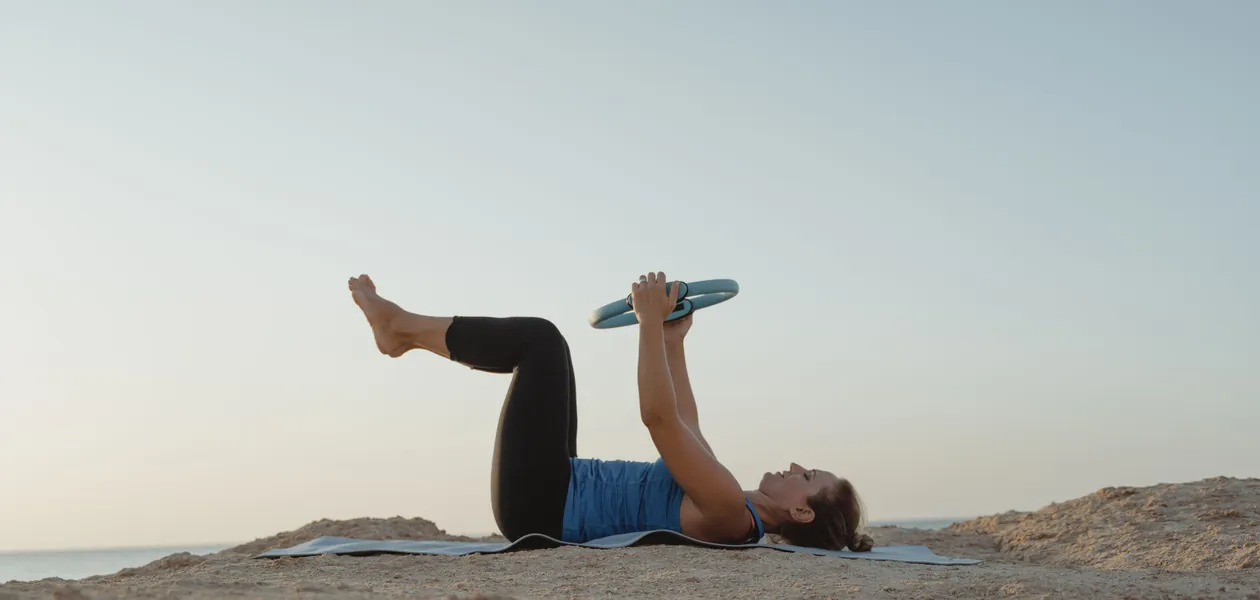
The dead bug exercise is a core stability move done lying flat on your back. From a starting position with your arms pointed at the ceiling and your hips and knees bent to 90 degrees, you slowly extend one arm and the opposite leg toward the floor, keeping your low back still, then switch sides.
It trains your abdominal muscles, deep ones included, to hold your spine and lower back steady while your limbs move. That builds core strength for lifting and sports, and you can make it easier or harder to suit any level. The name comes from how you look: a bug flipped onto its back.
TL;DR
- The dead bug exercise is a core stability move: lie on your back with your arms up and your hips and knees at 90 degrees, then slowly extend one arm and the opposite leg while your low back stays flat.
- Breathe steadily through every rep, exhaling as the arm and leg extend, and move slowly enough that momentum can’t do the work.
- It works the transverse abdominis and rectus abdominis hardest, and a 2023 ultrasound study found it raised transversus abdominis thickness more than four other Pilates exercises.
- The most common dead bug mistakes are arching your low back, moving too fast and holding your breath.
- Beginners can start with heel taps or arm-only reps, and Harvard Health suggests two to three sets of 8 to 12 reps, three to four times a week.
How to Do the Dead Bug Exercise
You need a mat or a carpeted floor. Doing the dead bug well is about control, not speed, so learn it with just your body weight first.
The Starting Position
Lie on your back with your knees bent and your feet flat on the floor. Press your low back gently into the mat and draw your ribs down, as if bracing for a light poke in the stomach.
Lift your feet so your hips and knees are bent at 90 degrees, shins parallel to the floor. Then reach both arms straight up over your shoulders. Every rep begins and ends in this tabletop position.
Step-by-Step Dead Bug Form
Once you’re set, perform each rep in four steps:
- Brace. Tighten your abs and keep your low back in light contact with the floor for the whole set.
- Extend. Slowly reach your left arm back past your head while you straighten your right leg. Stop when both hover just above the floor, or sooner if your back starts to lift.
- Return. Bring that arm and leg back to the starting position under control.
- Switch sides. Repeat with your right arm and left leg. One reach on each side makes one full rep.
I count three seconds out and three seconds back on every rep. It feels slow at first, but that pace makes your abs do the work instead of momentum.
How to Breathe During a Dead Bug
Never hold your breath. A simple pattern is to exhale as the arm and leg extend and inhale as they come back, which makes it easier to keep your ribs down and your back flat. Some coaches cue it the other way around; either works if your breathing stays smooth and your brace holds.
Dead Bug Exercise Muscles Worked
The dead bug is an anti-extension exercise: your core stops your low back from arching while your limbs pull against it. The National Academy of Sports Medicine’s dead bug guide lists the rectus abdominis and transverse abdominis as the primary muscles, with the obliques helping.
- Transverse abdominis. Your deepest abdominal muscle wraps your midsection like a corset and stiffens your trunk.
- Rectus abdominis and obliques. The six-pack muscle and the muscles along your sides keep your ribs and pelvis from pulling apart.
- Hip flexors and back muscles. Your hip flexors hold your legs in tabletop, while the muscles along your spine keep your body steady.
That deep layer is the one many ab exercises miss. Harvard Health notes that sit-ups and crunches may not properly engage the transversus abdominis, while the dead bug works all the abdominal muscles.
In a 2023 ultrasound study of 44 healthy women with Pilates experience, the dead bug produced the largest increase in transversus abdominis thickness of the five Pilates exercises tested.
Dead Bug Exercise Benefits
The main payoff is core stability: a trunk that stays still while your arms and legs work, the same job your core does when you carry heavy bags or brace under a barbell. Reaching with the opposite arm and leg also trains the cross-body coordination you use to walk, run and throw.
It’s easy on your back, too: the floor supports your spine, and you can feel the moment your low back lifts. Harvard Health calls the dead bug one of the best and safest core exercises for older adults. It needs no equipment, so it belongs on any list of low-impact exercises for men.
Common Dead Bug Mistakes
Nearly every bad rep comes from one of three faults:
- Arching your low back. A gap under your back means you’ve reached too far. Shorten the range until your back stays flat.
- Moving too fast. Swinging the limbs lets momentum do the work. Slow down and pause at each end.
- Holding your breath. NASM lists it as a fault that reduces core stability. Keep the breath moving.
Keep your head resting on the mat, too. Lifting it to watch your feet usually means your abs are tiring.
Dead Bug Variations: Easier and Harder
Easier Dead Bug for Beginners
If you can’t keep your back flat, take something away. Try heel taps: keep both knees bent at 90 degrees and lower one foot at a time to tap the floor. Or keep your feet flat and move only your arms.
For seniors, or anyone who struggles to get down to the floor, Harvard Health describes a seated version: sit in a supported chair, tighten your abs, then extend one leg while you raise the opposite arm. With a back problem or other health issue, get your doctor’s OK first.
Harder Dead Bug Progressions
Once slow, clean reps feel easy, start with both legs pointing straight up instead of bent, lower both arms and legs at once, or hold a light dumbbell in each hand.
You can also hold a stability ball between your hands and knees. As one arm and the opposite leg extend, the other hand and knee press into the ball so it doesn’t drop.
How Many Dead Bugs Should You Do?
Quality beats volume. Harvard Health suggests 8 to 12 reps, each covering both sides, for two to three sets, three to four times a week. NASM programs 3 sets of 10 to 15 reps per side. End the set when your back lifts or your pace speeds up.
Dead bugs make a good core warm-up before squats, deadlifts or Bulgarian split squats. They also fit at the end of a workout alongside planks and the bird dog.
FAQ
What muscles does the dead bug exercise work?
Mainly your deep core. The dead bug works the transverse abdominis and rectus abdominis hardest, with the obliques helping, while your hip flexors hold your legs up and the muscles along your spine keep your body steady. Together they stop your low back from arching as your arms and legs move.
Is the dead bug good for beginners?
Yes. You lie on the floor, so you can feel the moment your low back lifts, and you need no equipment. If the full move is too hard, start with heel taps or arm-only reps, and shorten the range until your back stays flat.
Is the dead bug exercise good for seniors?
Yes, for most older adults. Harvard Health calls it one of the best and safest core exercises for them, and there is a seated version: sit in a supported chair, tighten your abs, then extend one leg while raising the opposite arm. With a back problem or other health issue, get your doctor’s OK first.
What are the benefits of the dead bug exercise?
Core stability is the main one. The dead bug teaches your trunk to stay still while your arms and legs move, and it builds the cross-body coordination you use to walk, run and throw. It needs no equipment, and because you lie on the floor, it is easy on your back.
How many dead bugs should I do?
Two to three sets of 8 to 12 slow reps, each rep covering both sides, three to four times a week. That is Harvard Health’s guidance, while NASM programs 3 sets of 10 to 15 reps per side. Whatever the plan, end a set as soon as your back lifts or your pace speeds up.